HEADWORN MICROPHONE BOOMS, THE SIMPLE AND INEXPENSIVE WAY

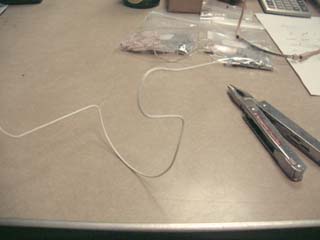
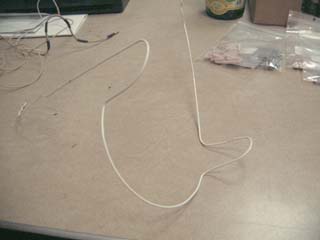
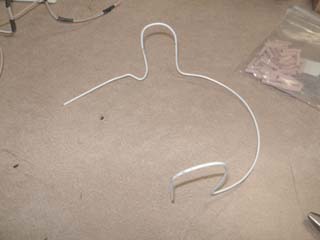
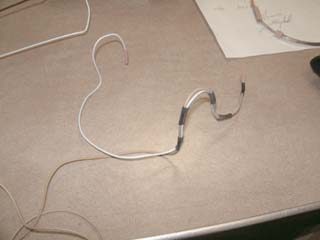
in some instances, it may be necessary to use head-worn boom-mic rigs in a given situation. In this case, several options are available. Boom mic rigs are manufactured by Countryman and Sennheiser, but they tend to be prohibitively expensive. I like to manufacture my own using standard RF rigging supplies and coat hangers which you can procure from your Wardrobe Staff.

fig1: this is the Sennheiser NB-2. I have no idea how much it costs, but I would assume it costs too much. I have had many complaints about this particular product because while it is adjustable it is still uncomfortable and will not remain in position without the aid of adhesives or welding torches.
fig 2: Matt and Kai illustrate the simple solution: a Hellerman Tool, which you should always have in your RF rigging kit, and some coat hangers. You can either steal these from Wardrobe, or buy them yourself. Contrary to Joan Crawford, I like wire hangers*.
fig 3: after detangling the hanger into a single length of wire, prepare your supplies: I like to use real Hellerman sleeves, but in the case that you don't have real Hellerman sleeves, 1/16" surgical tubing will suit the job. Note that a clean workspace is essential to proper RF microphone rigging techniques.
fig 4: Using some brute force and a pair of pliers, cut off excess hanger bits and carefully bend a "U" to fit around the back of the neck. A second "U" perpendicular to the first is created to fit over the ear.
fig 5: Carefully bend another perpendicular "U" to fit over the opposite ear. I have chosen to construct these rigs with a right-boom microphone, but you can create a left-boom microphone by reversing the directional vectors.
fig 6: Always test the boom microphone rigs on a real human head. Beware of loose jewelry and long hair!
fig 7: Snip excess hanger-age using a pair of sharp pliers (I prefer Swiss long-nose pliers or a pair of Klein Linesman's pliers to your standard pair of dykes). Your final product should look something like this. If it doesn't, you've done something wrong.
fig 8: Using your Hellerman tool and the Hellerman sleeves, affix the microphone element to the boom side of the hanger rig. Use as many Hellerman sleeves as you think necessary. I prefer to double-sleeve the cable-entry point at the back of the neck for assured protection.
fig 9: We've made a collection of these head-worn rigs, and tangled them together on top of this laser printer.
OTHER RF TRICKS

So many possibilites can be realized with some thought and creativity. We've included a couple of ideas below.

fig 1: Ryan has taken two hardware caddies ($3.99 at Home Depot) and some leftover packing foam to create inexpensive baskets in which to carry transmitters. Having carefully measured and cut the foam to fit the caddy perfectly, Ryan now measures the transmitter cutouts.
fig 2: We can clearly see in this photo each cutout and the method by which the transmitter is held in place. Viola! While I prefer to use Sennheiser transmitters on my shows, sometimes you have to make concessions. These are Sony transmitters.
fig 3: Using strips of white gaffers tape and a Sharpie™, Ryan carefully stencils each RF number adjacent to the corresponding transmitter slot. I don't like confusion, so I make sure everything is properly labeled.
fig 4: Plastic shoebags are also a handy accessory. I like to use them to store RF supplies on the wall, especially in short-term shows, or as a place for the other crew members to store their radio-intercom beltpacks at the end of the day.

Comments? Suggestions? Feedback (ha-ha!)?
e-mail kai@harada-sound.com
KH 18.08.2001

*Note: Many folks have written in asking about the Hellerman tool, and more specifically, from where to procure one. The Hellerman tool is manufactured by RS Components, based in the UK, and in the United States I have been able to get them from both Masque Sound and Recording or ProMix.

site site click site